aitypescriptdeveloper-tools
Tooling migrations don't have to take weeks anymore
I used to block out weeks for tooling migrations. Now I let Claude Code run in the background, check in when it's done, and pair with it to understand what changed.
You can find part 2 here, and part 3 here.
This series will walk you through how to make HTTP requests to the Github REST API in React.js. I’ve chosen the Github API because it is well-organized and doesn’t require us to do any sort of authentication. Part 1 will focus on setting up a React application using create-react-app.
At the end of this tutorial, you’ll be able to click a button, feed Github your username, and get your name back.
Let’s begin.
First, we need to set up our project. We will begin by navigating to the create-react-app repository on Github.
We can use create-react-app to set up a React project without having to worry about build configuration. In other words, we can get right to the good parts of coding without having to set up third-party services like webpack, which can be notoriously challenging for developers unfamiliar with it. (If you want to learn more about how to set up webpack, you can read my post How to Set Up D3.js with Webpack and Babel).
To create a new project using create-react-app, head over to your terminal. cd into your root directory. By typing npm install -g create-react-app, you will install create-react-app globally on your computer. You can use the create-react-app command to create a new application, like so:
create-react-app github-requester
In the command above, github-requester is the name I’ve chosen to give my application. You’re welcome to name your application anything you’d like.
Next, cd into your application, and type npm start. This will start your server, so that you can view your application locally in your browser at http://localhost:3000/.
This works, because create-react-app sets your start script to react-scripts start. If we hadn’t used create-react-app we would have had to set this, and things like it, ourselves.
When you open the page at http://localhost:3000/, you should see a page that looks like this:
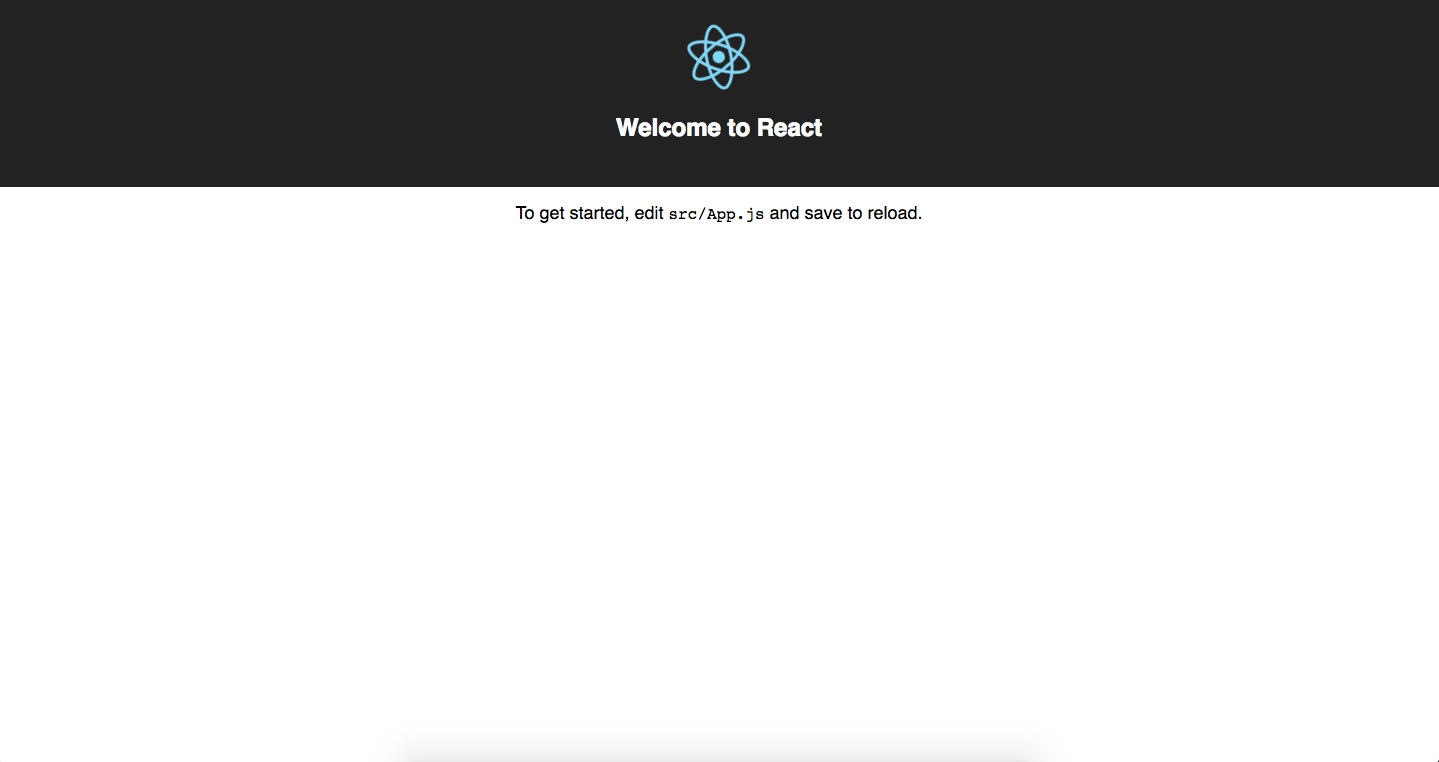
Thanks for following this tutorial so far! If you see the screen above, you’ve correctly set up the project, and you’re ready to move on to Part 2 of this tutorial.
I used to block out weeks for tooling migrations. Now I let Claude Code run in the background, check in when it's done, and pair with it to understand what changed.
Frontend technical debt doesn't just slow down developers. It undermines your entire business through user attrition, legal risks, and revenue loss. Here's how to spot and communicate these hidden costs.
How I used Conductor and Claude to streamline my team's Dependabot review workflow — and how a colleague turned it into a GitHub Action